How to install an air conditioning unit perfectly
How to install an air conditioning unit properly is very important factor. If installation is perfect then it will look beautiful. Before going to install an air conditioning you should first prepare the equipment needed. What equipment do you need to prepare before the installing the air conditioning installation.
Equipment needed in air conditioning installation
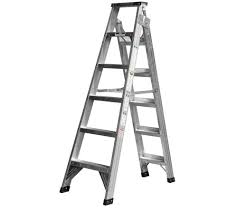
1-Folding ladder–
This folding ladder will make it easier for you to install indoor units and outdoor units
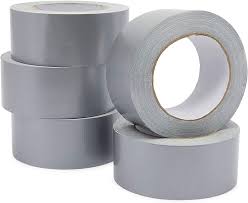
2- Duct Tape/ Non Glue Insulation–
Duct tape is very important in the installation of air conditioning. Its function is to wrap the air conditioning pipe, so that the installation looks neater.
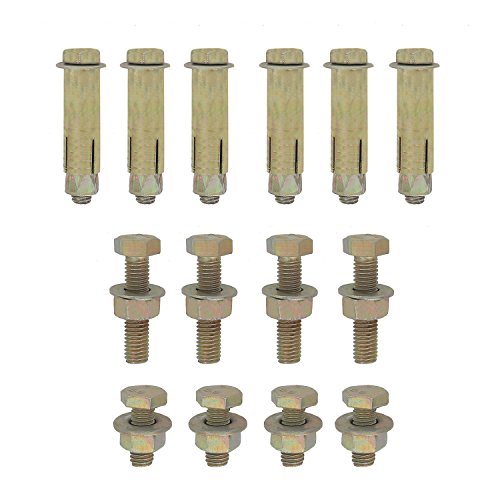
3-Dynabol/ Fasteners–
This dynabol will function to mount the outdoor of air conditioning unit bracket, so that it can firmly support the outdoor unit. We need 4 to 6 pieces of dynabol with size 10
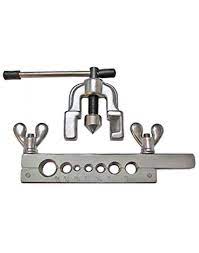
4-Flaring Tool/ Capillary pipe end widening device for air conditioning–
Flaring tool serves to expand and enlarge the ends of copper pipes by 45 degree, to be connected with treaded connections on the pipes of indoor unit and outdoor unit of air conditioning.
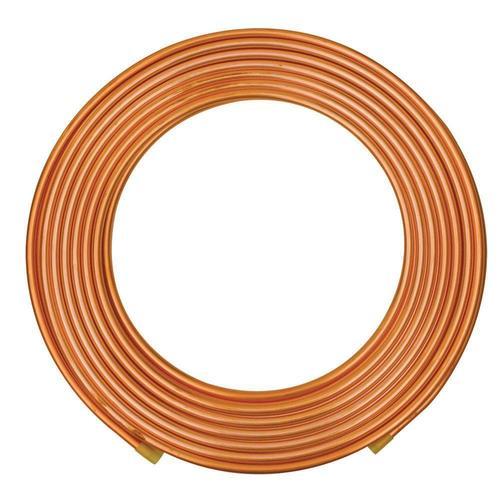
5- Air Conditioning Pipe–
Air Conditioning pipes with a size of 1/4 and 3/8. This pipe is used to connect from the indoor unit pipe to the outdoor unit of air conditioning
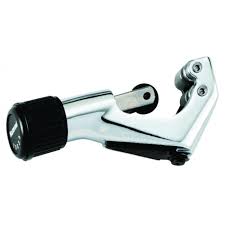
6-Air Conditioning Capillary/ Tube Cutter
This tool is used to cut the copper tube with being punched.
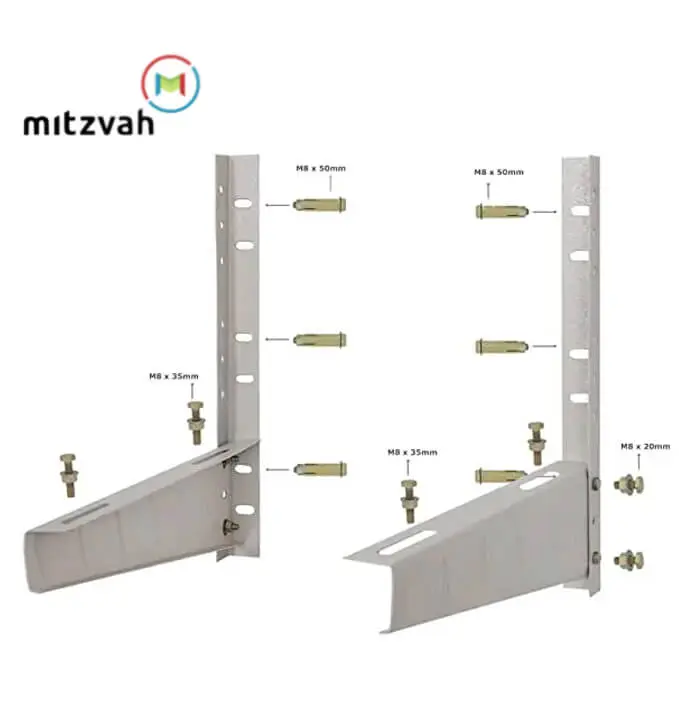
7-Bracket/ Outdoor stand–
The bracket serves as a place to place the outdoor air conditioning unit.
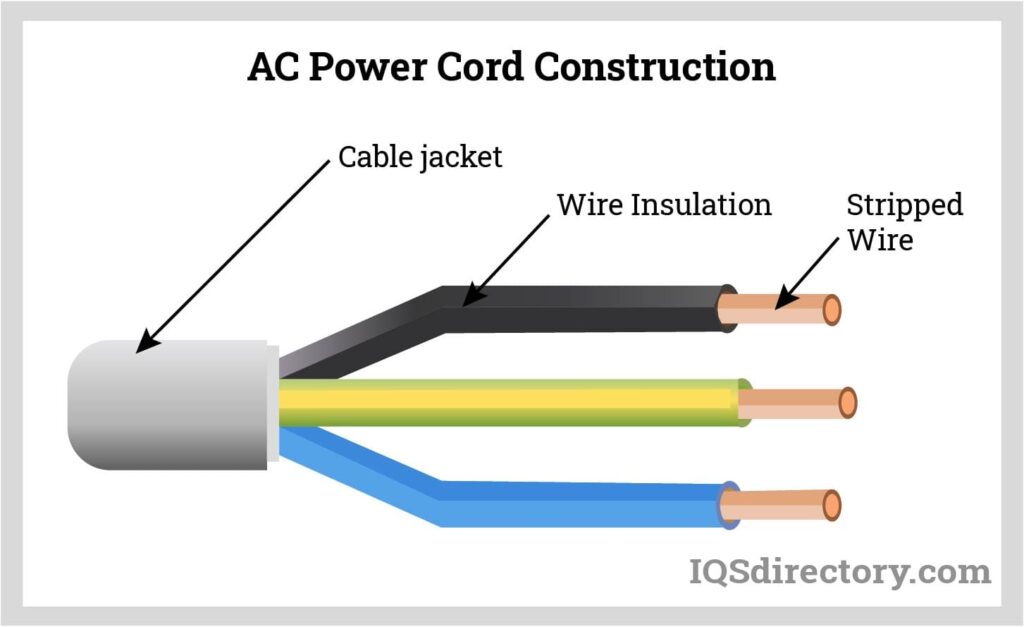
8- Power Cord/ Power Cable-
This power cable is used to connect the electric current between the indoor unit and the outdoor unit of air conditioning.
9- Allen Key Set/ L Key Set–
The small L key is used to open the freon or gas pipe cover on the outdoor unit of air conditioning. After the equipment is prepared then the equipment you must prepare such as: 1- Two Wrenches (of number 12 and 13) 2- Plus Screwdriver and Minus Screwdriver 3- Hammer and iron chisels 4- Electric Drill 5- Pliers 6- Water Pass 7- Glass Cutter 8- Hacksaw etc.
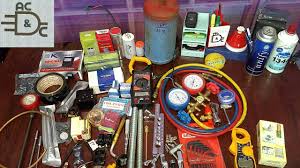
Steps of installing a split air conditioning unit
The First Step of ac installation
Before installation, you should see the place first, where the indoor unit and outdoor unit will be installed. Don’t be too far between the indoor unit and the outdoor unit. After you have determined the place, the nest step is to install the bracket/ mounted plate for indoor unit. Open the box of the indoor unit on its stomach, then take the indoor unit bracket attached to the back of the indoor air conditioning unit.
Second Step of ac installation
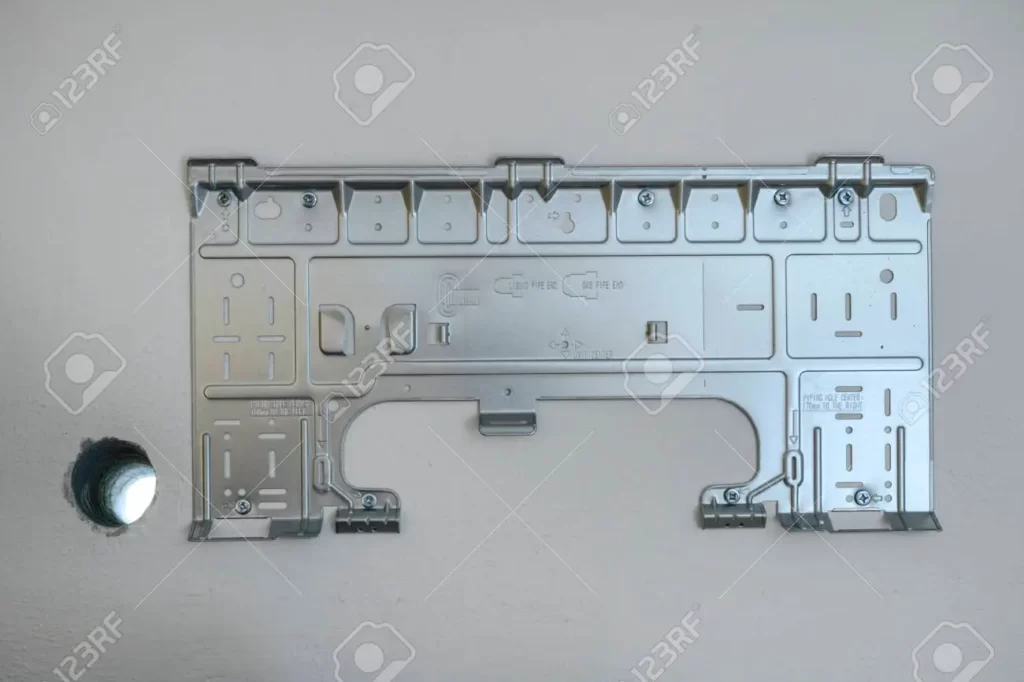
Install the indoor air conditioning bracket on the wall where the indoor air conditioning unit will be placed. Mounting brackets must right, not tilted. You can use nails to stick it in. So after the bracket is attached to the wall. next step is to make holes in the wall for pipe connections and air conditioning cables from the indoor unit to the outdoor unit
Third Step of air conditioner installation

Punch holes in the wall with a hammer and iron chisel until the wall is hollow. Because this hole will be used for pipes and air conditioning cables from the indoor unit to the outdoor unit.
Fourth Step of ac installation
This step is installation of cables for the indoor unit which will later be distributed to the outdoor unit. Open the box on the right of the indoor unit with plus screwdriver. In the box this cable will be installed. See the picture below
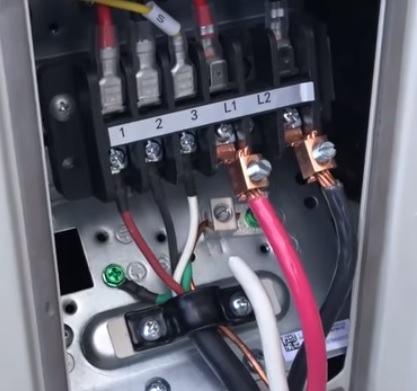
Notice the red cable on the left is the positive power cable, black wire is the negative power cable and the white cable is the earthing. The next step is to install indoor unit in the bracket that we installed earlier. Before installing indoor air conditioning , on the back of the indoor unit there are pipes, cables and drain pipes. Pull up and straighten, then apply duct tape to the entire end of the pipe until it closes at the pipe connection. The goal is so that the pipes, cables, and drain pipes can go into the hole in the wall together. So that the air conditioning capillary tube does not get dust when it enters the hole. See the image
Fifth Step of air conditioning installation
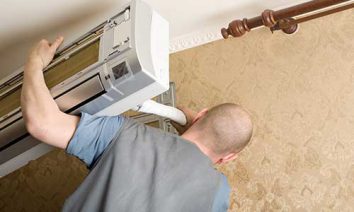
In this step is the installation of indoor unit on the bracket that we installed earlier. First place the folding ladder position under bracket. Then lift the indoor unit carefully. Then insert the pipe, cable and drain pipe together. After entering then place the indoor unit on the bracket properly and fit it. Do not tilt it. It take emphasis when placing the indoor air conditioning on the bracket. So that it fits and is precise. Now the indoor air conditioning unit has been installed, see the picture below
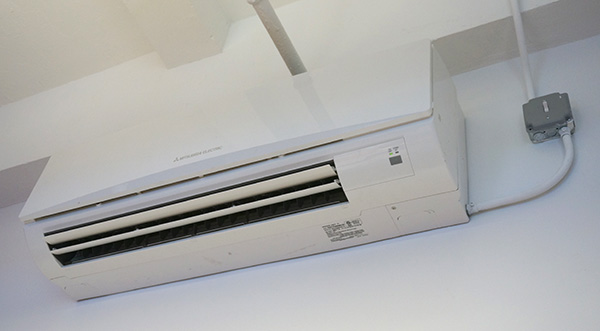
Sixth Step of air conditioner installing
Now it is the turn of installing outdoor unit. Outdoor unit is installed outside the room in open area. But not too far from the indoor unit to make it more efficient and save capillary tube/ copper tube. Before installing outdoor unit, first measure the foot placement of the outdoor unit bracket with help of measuring tool. Now mount the brackets or outdoor stand by using the dynabol or fasteners so that it can stick firmly. The installation step, first measure the foot of the outdoor unit bracket placement, then put a mark on the wall tat we will drill, then drill the wall that we have marked. After we drill 4 to 6 holes. Now insert the dynabol into the holes. Then tighten the bolts properly with the help of wrench. So that it doesn’t come out easily. Now attach the bracket to the dynabol. See the picture
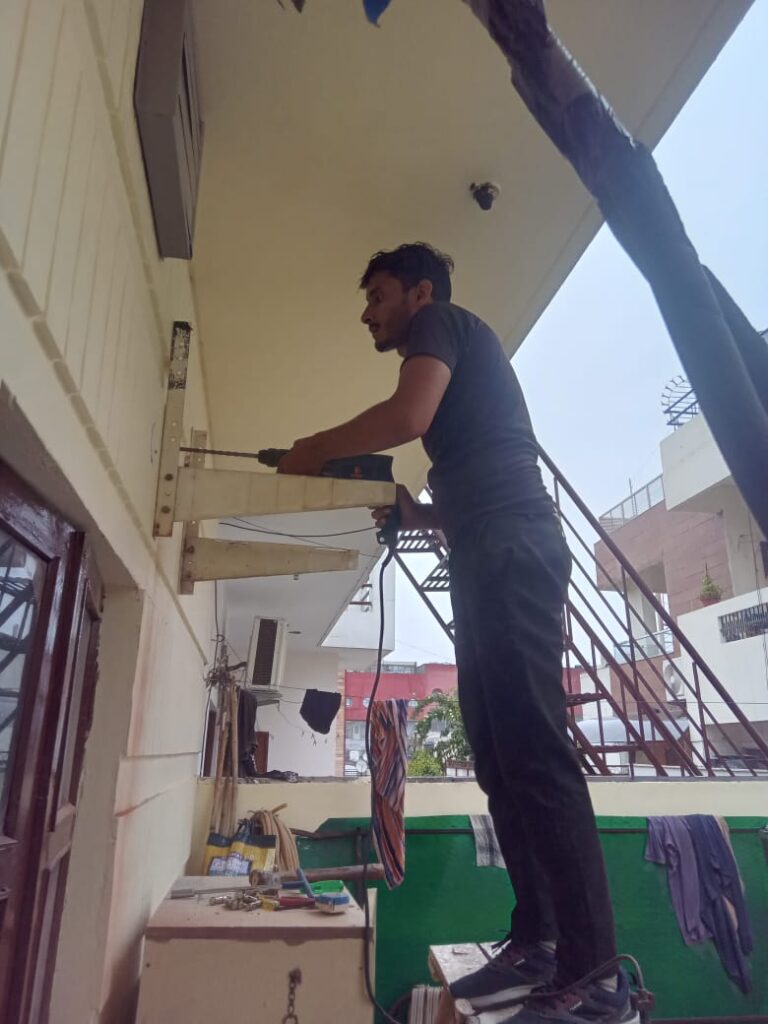
Outdoor unit installation
after the bracket is installed, then place the outdoor air conditioning unit on the bracket. It takes a lot of strength to put the outdoor unit on the brackets. Because the outdoor unit has a very heavy load. Especially if the capacity of the air conditioning that you are going to install is 1 PK or 2 PK or more. This unit is very heavy and you need the help of your friends to raise it to the top of bracket.
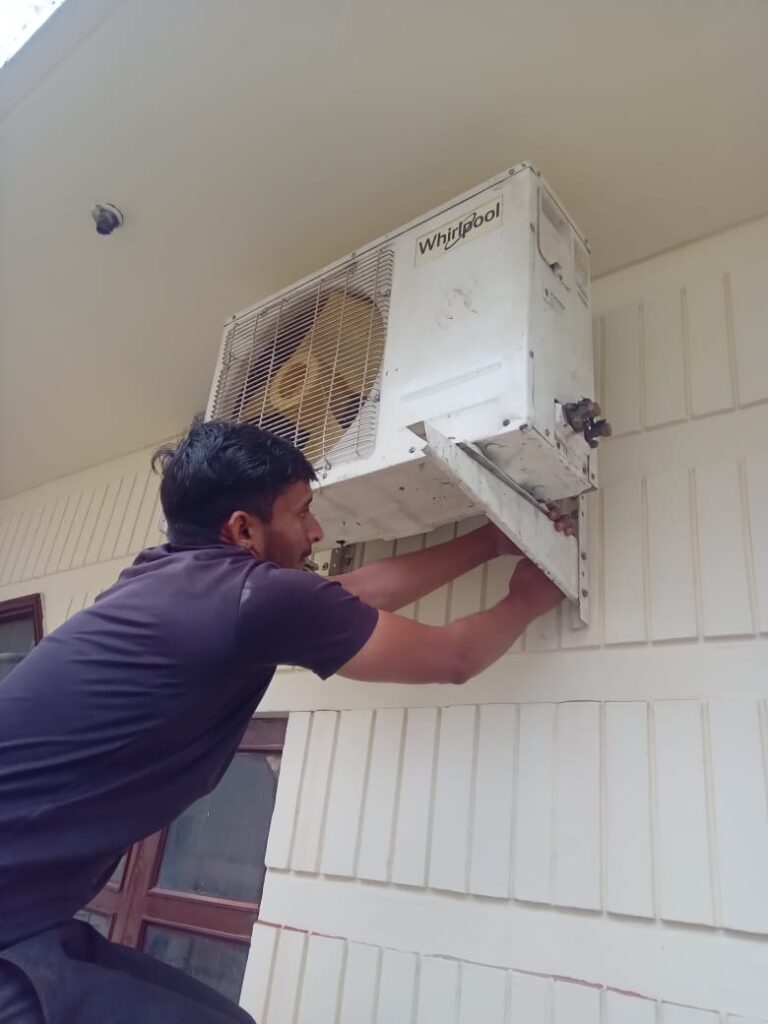
Seventh Step of split ac installation
After the outdoor unit has been installed in place, the next step is: Cut the capillary/ copper tube about 1-2 meters depending on the distance between the indoor and outdoor pipes. After cutting widen the two ends of the capillary tube. Before you widen the capillary tube, first insert the bolt used to strengthen the pipe connection. You have to be very careful when widening the end of the capillary tube. Otherwise it will leak the capillary tube. See the picture
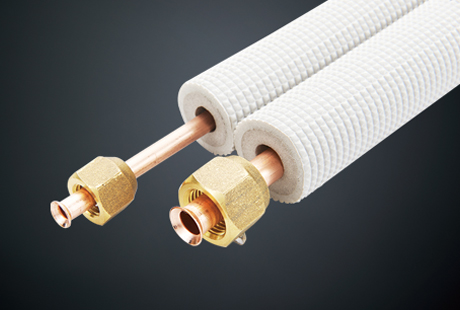
Eighth Step of air conditioning installation
Install ac pipe connection & attach the indoor unit pipe end to connection pipe. Tighten the connections using two wrenches. So that it is strong & does not leak. If connection are loose it can cause gas leakage. After capillary pipe connection install the capillary pipe on the gas connection & open freon cover. Remove all covers using wrench. Use L key into the small capillary tube first, turn it to the left to loosen it slightly for 3 seconds, then close again. Then press the button on the big pipe line until the pressure is really small. This method is to remove the air in the pipe. So that the contents of the capillary tube are replaced with freon. Loosen again, until all the gas flows in the small pipe. Then close the security that you removed earlier install it as before.
Ninth Step of ac installation
After the pipe installation is complete, it is time to install the electrical cable from the indoor unit to the outdoor unit. How to install it. Open the cover on the top of the outdoor unit using a plus screwdriver. See the picture
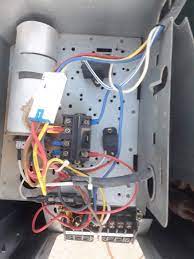
the negative cable is on the left and the positive cable is on the right. After the installation of the power cord is complete. Close it again with the cover as before.
Tenth Step of ac installation
Installation of the main power cable that connects the air conditioning to the electric current source. In the indoor unit there is a power cable that is used to flow electric current from an electric current source in your home. Plug the socket from the electricity in your home after the stop box is installed. Insert the indoor unit power cable into the box stop. After installing the air conditioning please turn on your air conditioning. Program the remote first. Press the model button in the cool position. The temperature is in the lowest position. And the fan is set to the position quickly. Wait for 10 seconds. If the outdoor unit is running the air in your room will immediately cool and the installation has been successful.
AC Repair Service Chandigarh, India
We offer expert and satisfactory installation of all types air conditioners such as: window ac, split ac, cassette ac, central ac, package ac, HVAC, VRV & VRF, AHU and Chiller Plant at genuine price with warranty. It provides ac installation for all brands in Tri City Chandigarh, Panchkula, Mohali, Dera Bassi, Zirakpur, Dehradun, Jalandhar, Hoshiarpur, Kapurthala, Phagwara, Amritsar, Ludhiana, Ambala, Punjab, Haryana, Tamil Nadu, Kerala, Telangana, Andhra Pradesh, Maharashtra, Uttar Pradesh, Delhi, Uttarakhand, Himachal Pradesh, All Over India. We offer our genuine service in Dubai, Kuwait, Qatar, Saudi Arabia & All Over UAE.

